Difference between revisions of "Fields of Misery map"
ADVERTISEMENT
From Diablo Wiki
m |
|||
| Line 3: | Line 3: | ||
Below are six possible arrangements of the zone. | Below are six possible arrangements of the zone. | ||
| − | [[File:Fields of misery map1 | + | [[File:Fields of misery map1.jpg]] |
| − | [[File:Fields of misery | + | [[File:Fields of misery map2.jpg]] [[File:Fields of misery map3.jpg]] |
| − | [[File:Fields of misery map5.jpg]] [[File:Fields of misery map6.jpg]] | + | [[File:Fields of misery map4.jpg]] [[File:Fields of misery map5.jpg]] |
| + | |||
| + | [[File:Fields of misery map6.jpg]] [[File:Fields of misery map7.jpg]] | ||
Revision as of 18:14, 12 June 2012
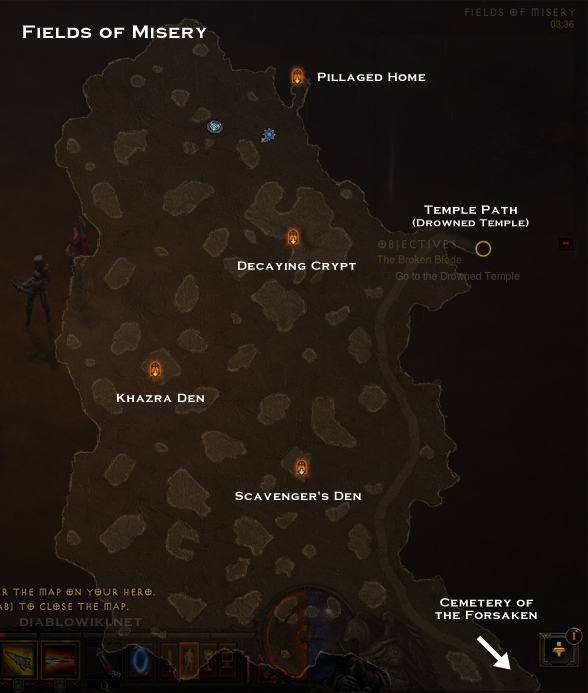
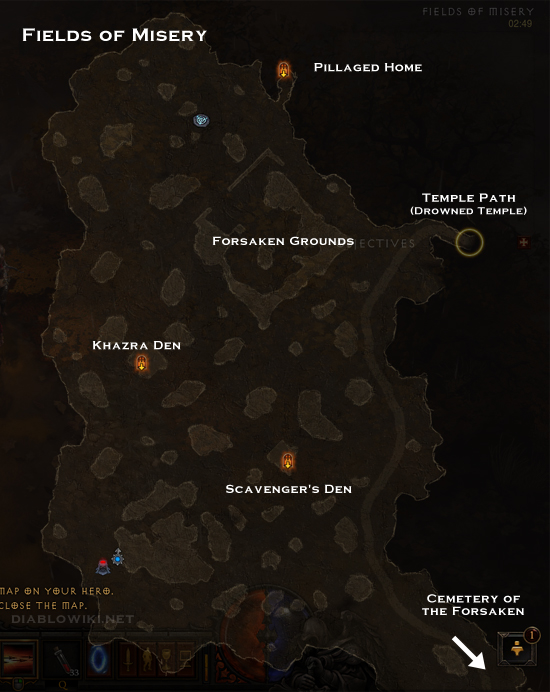
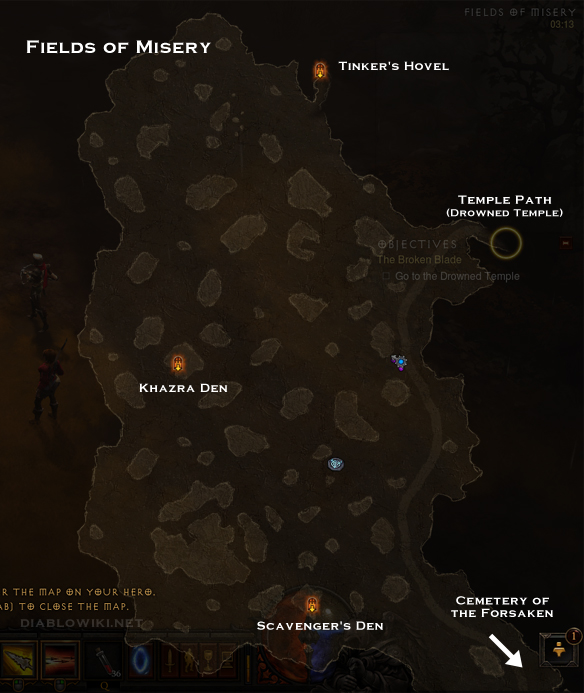
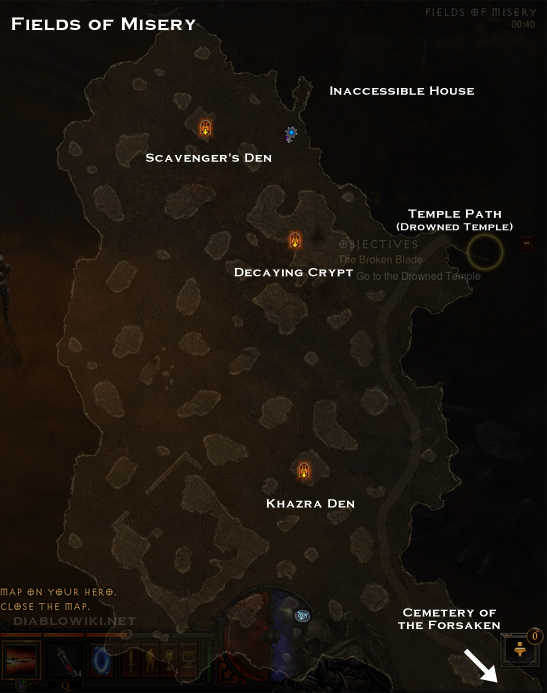
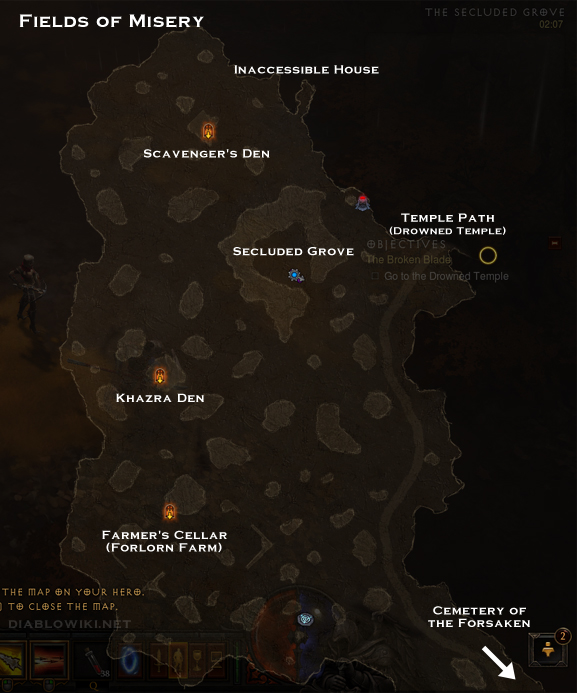
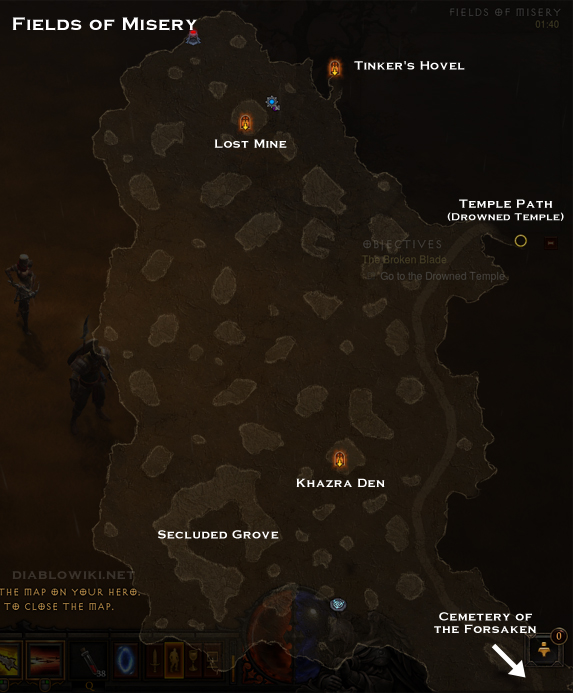
Whilst the perimeter of the Fields of Misery is identical each time and entrances and exist to the area are in the same place components such as dungeons, waypoints and certain features will appear or not in slightly different places, or not at all.
Below are six possible arrangements of the zone.
