Difference between revisions of "Help:Image"
| Line 87: | Line 87: | ||
Image:Jay_Wilson.jpg|Caption 1 | Image:Jay_Wilson.jpg|Caption 1 | ||
Image:Jay_Wilson.jpg|Caption 2 | Image:Jay_Wilson.jpg|Caption 2 | ||
| − | Image:Jay_Wilson.jpg|[[Jay Wilson]] | + | Image:Jay_Wilson.jpg|Link: [[Jay Wilson]] |
Image:Jay_Wilson.jpg|Lead Designer D3 | Image:Jay_Wilson.jpg|Lead Designer D3 | ||
Image:Jay_Wilson.jpg | Image:Jay_Wilson.jpg | ||
Revision as of 21:38, 28 August 2008
Images are always nice to spice up content, and in many cases they are outright needed in order to describe information from a game. Luckily, they are easy enough to add in DiabloWiki.
Contents
Adding Images
To insert an image on any page, you use a small piece of wiki markup, that you can see is very similar to wiki links: [[Image:filename.jpg]]. Make sure you don't forget to write the file extension. For this instruction we assume the picture is already uploaded to the wiki (more on that further down). The valid image files for DiabloWiki are:- .gif
- .jpg
- .png
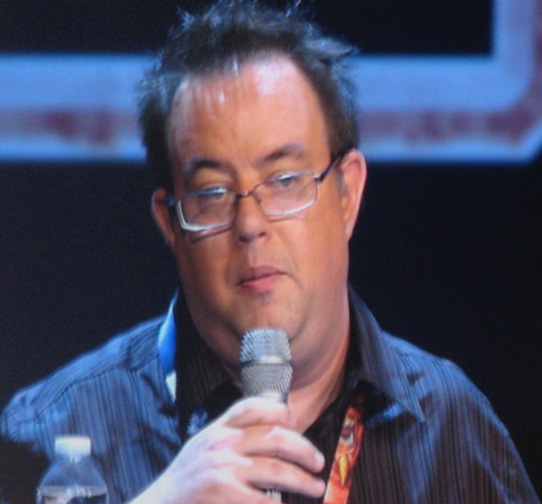
Images will automatically be made into a large size, and justificated to the left side on a page, but it's easy to change these settings with simple variables in the code. In this case we will be using the Jay Wilson image that you can see "thumbnailed" to the right.
Image Code Variables
The following variables can be added by adding a pipe ("|") after the file name:
- Type
- |frame - Creates a frame around the picture. If a caption is added, it is shown below. Picture retains original size, regardless of "size" attributes. Picture is normally floated right.
- |thumb - Resizes the picture to a thumbnail, adds a frame and room for a caption. Automatically aligns "right" unless overwritten with a "left" variable.
- |thumbnail - Same as "thumb".
- Location
- |right - Aligns the image floating to the right. Text will align around the left hand side.
- |left - Aligns the image floating to the left. Text will align around the right hand side.
- |center - Centers the image on the page. Text aove and below only.
- |none - The image will have no floating alignment. Best for tables.
- Size
- |150px - Sets the width of the image to 150 pixels. The image size ration is preserved.
- |150px100px - The image becomes no wider than 150 pixels and no higher than 100 pixels. The image size ration is preserved.
- If not used, it will use the standard size.
- Caption - Any element that isn't identified as one of the above.
- |(any text) - This will create an alternative mouseover tooltip instead of the standard "Image:Jay_Wilson.jpg" on regular images. Will add a caption below the image for "frames" and "thumbs".
Examples:
- [[Image:Jay_Wilson.jpg|left|frame|150px|Caption about [[Jay Wilson]] in a "frame".]]
- [[Image:Jay_Wilson.jpg|right|150px|Caption not working.]]
- [[Image:Jay_Wilson.jpg|thumb|150px|Caption about [[Jay Wilson]] in a "thumbnail".]]
Notice how the "150px" attribute on the "frame" image does not work, and that the caption for the regular image is only shown in the mouseover.


Spacing Between Images
In order to create vertical spacing between images, or to stop text from wrapping around it, some CSS html code must be used. Add the following piece of code in order to stop any new content from being show on the side of a picture:
<div style="clear:both;"></div>
Images as Links
The wiki scripts automatically add the image page (the "article" page where the image's description, categorisation, etc is) as the source of a link that lays on top of the image. There is currently no way to make an image link to somewhere else than its image page with any type of code. Be it CSS, HTML or wiki syntax - it's just not possible.
Uploading Images
To upload images to the wiki, there are primarily two ways; either create the wiki syntax for the image first, and then click on the red link to upload, just like you would when creating a new article, or you can go to the upload page of the wiki.
When uploading, make sure to adhere to the title policies of DiabloWiki, and to add it in the appropriate categories. You might want to check with the category structure to see what categories it will fit in.
Gallery of Images
The other functional use of pictures on a page is to make a gallery of pictures. The wiki code "<gallery></gallery>" will create a 4xX gallery that auto-fills with more pictures. The gallery will be four columns of pictures wide, and any number of rows. The gallery can either be just thumbnails, or thumbnails with captions. Just make wiki syntax like illustrated below, and add one DiabloWiki image page name per row:
<gallery>
Image:Jay_Wilson.jpg
Image:Jay_Wilson.jpg|Caption 1
Image:Jay_Wilson.jpg|Caption 2
Image:Jay_Wilson.jpg|Link: [[Jay Wilson]]
Image:Jay_Wilson.jpg|Lead Designer D3
Image:Jay_Wilson.jpg
Image:Jay_Wilson.jpg|Last pic
</gallery>
This is what it would look like:
Link: Jay Wilson
Notice that the 8th picture place is empty until one more picture is added.
Linking to Images
Sometimes you might want to link directly to an image instead of embedding it on the page. If so there are two ways to do this:
- Use a direct, external, link to the image url: Image
- Use an internal wiki link to the image page: Image
The former way works exactly like any external link (read more about that later), for the link title, URL or a little bracketed link. The latter works just like Category Links, with a ":" in front, and with the possibility to change title with a pipe ("|").
Read more at the markup link syntax.
| Wiki Help Index [e] | ||
|---|---|---|
| • Help Contents • Community Portal |
• Wiki Tools • Article History |
• Glossary • Articles |
